Ingredients
Yeast Sponge
500g of whole milk (or dairy alternative)
50g of honey (or other preferred sweetener)
12g of dry active yeast
32g of psyllium husk powder
2 eggs
25g of apple cider vinegar
70g of melted butter, cooled
Dry Ingredients
240g of millet flour
140g of superfine brown rice flour
120g of tapioca starch
2tsp of salt
Method
1. Warm the milk to 110 degrees. Be sure that your milk isn’t hot, but just warm to the touch. Add in the sweetener of choice and then the dry active yeast. Mix until somewhat combined and cover for 10-15 minutes. After 10-15 minutes, your yeast sponge should look puffy on top. If it doesn’t you can repeat step one again, making sure that the milk wasn’t too hot or too cold. Sometimes, the yeast is not being activated because it’s either too cold or it’s being killed because it’s too hot.
2. Once the yeast is puffy on top, add the 2 eggs, psyllium husk powder, apple cider vinegar, and cooled, melted butter. Whisk until well combined and all the clumps of psyllium husk are broken up.
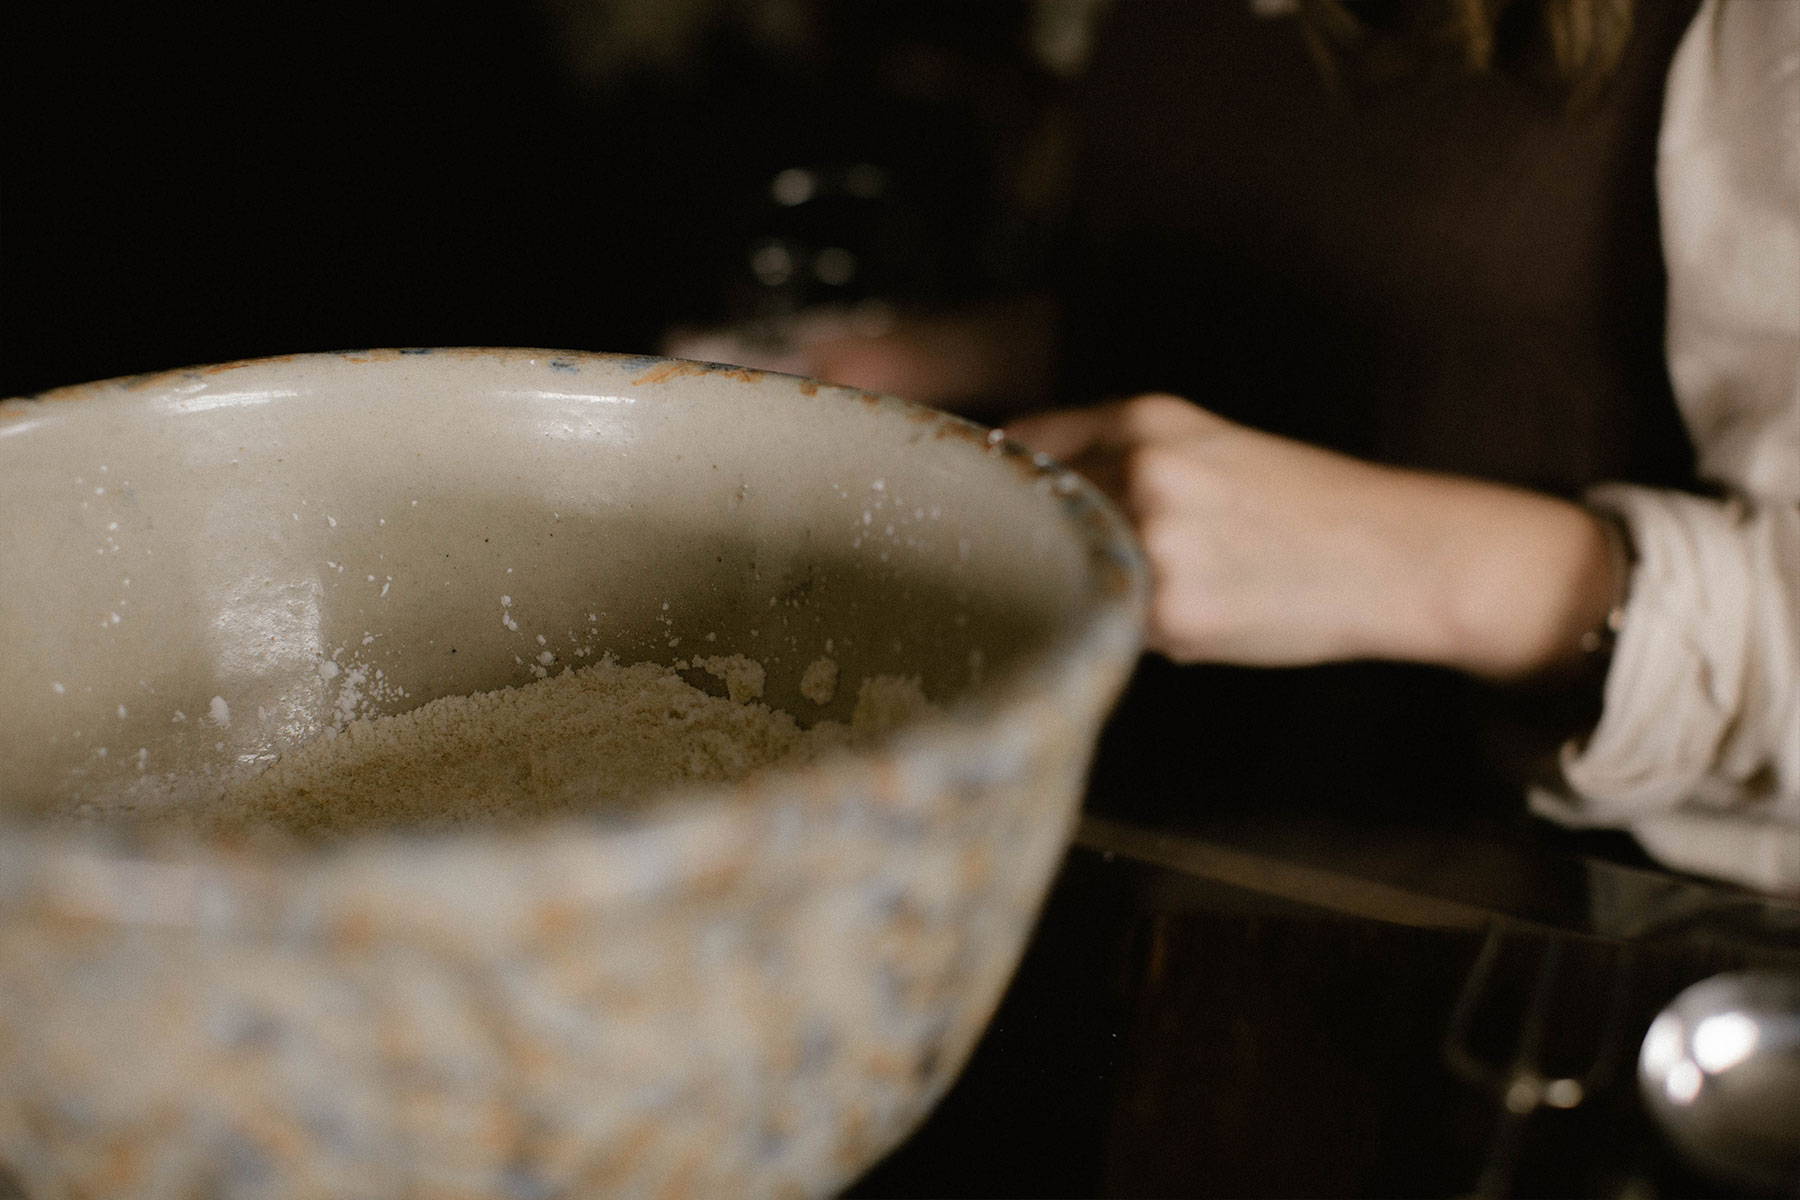
3. Mix up the dry ingredients in a separate bowl until well combined, then add to the bowl with your yeast sponge ingredients. With the paddle attachment of the mixer mix on medium speed until the dough is completely combined. If the dough seems a little too wet, don’t worry! It will come together nicely when kneaded on a floured countertop.
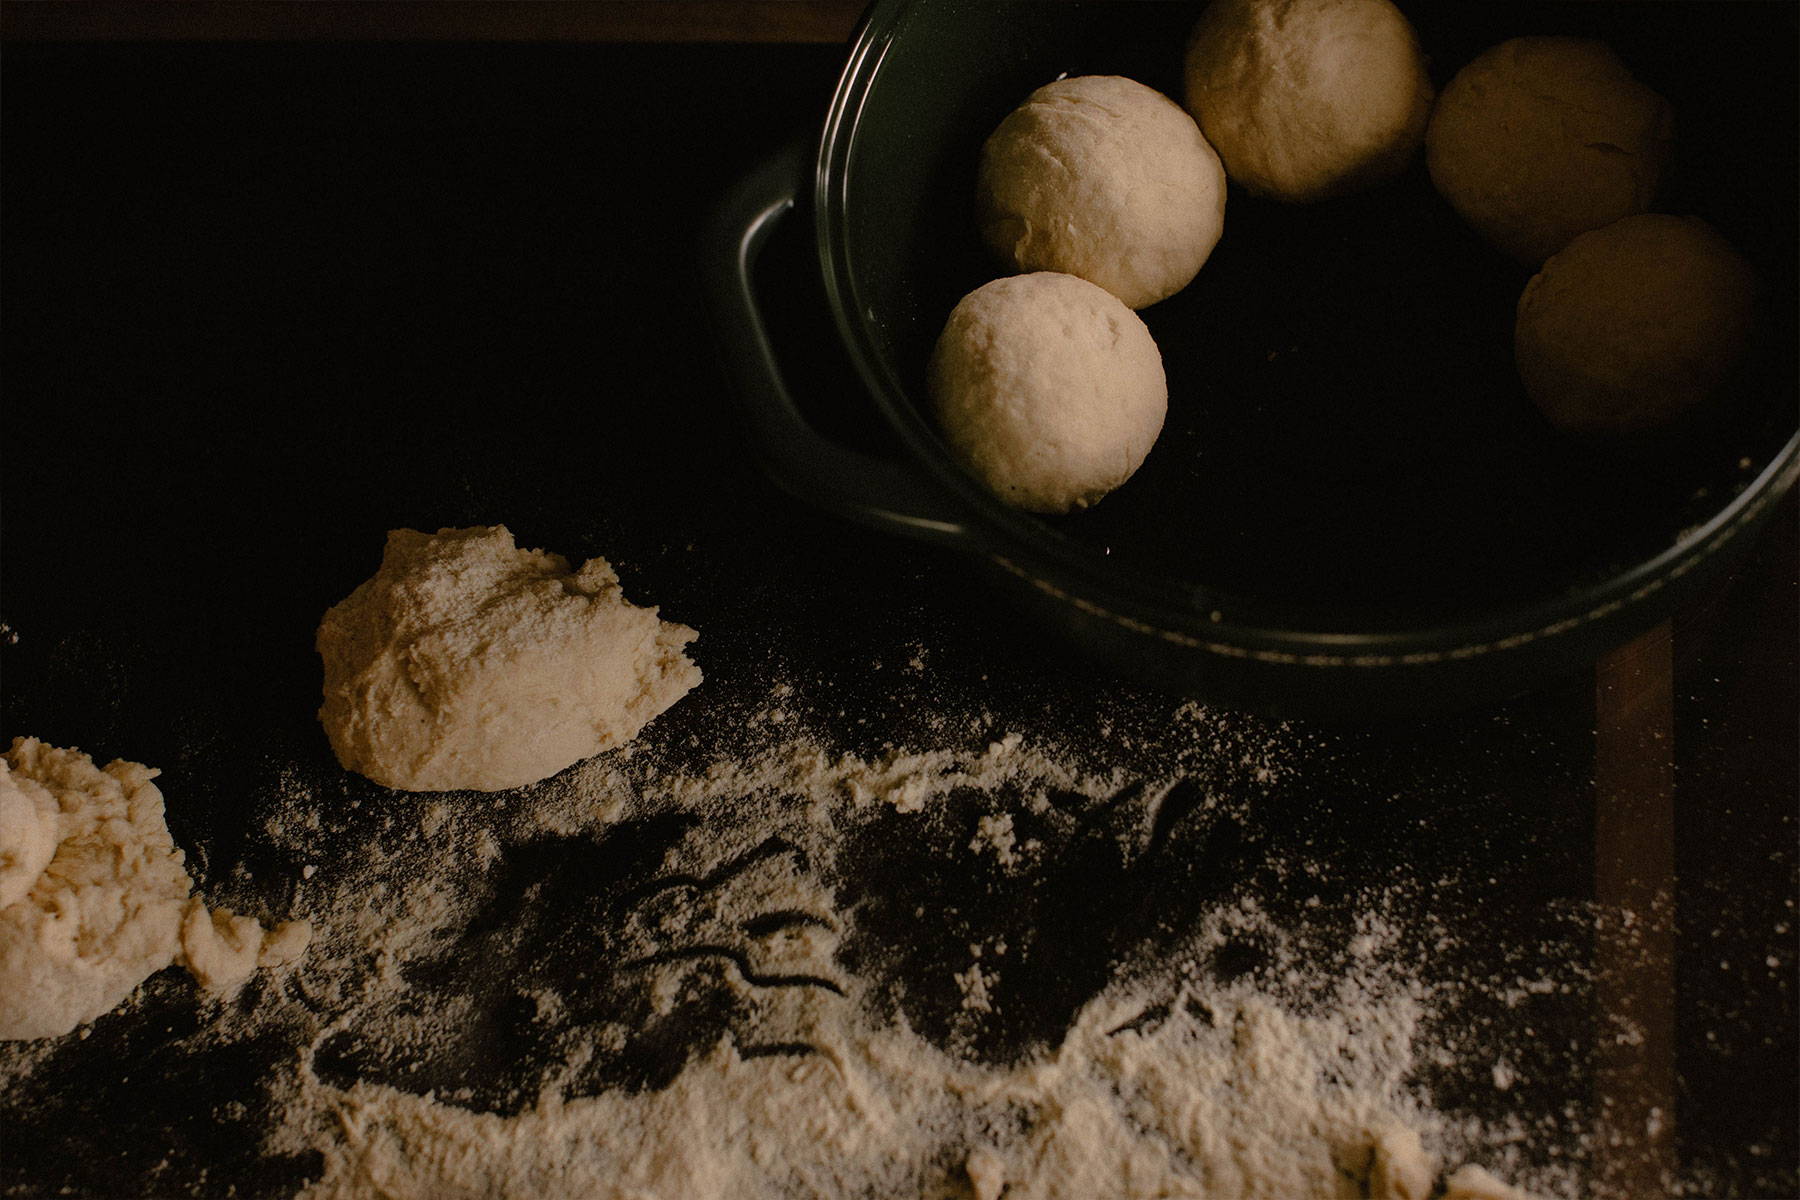
4. Dust a countertop liberally with millet flour and then turn the dough out onto the countertop. Knead until a soft dough ball can be formed.
5. Preheat your oven to 425 F and grease a 10 inch cast iron skillet, pie dish or an 8x11 baking dish.
6. Separate into 12 equal balls, weighing about 91g each, give or take.
7. You may need to dust your countertop a bit more to prevent sticking as you shape your rolls, however, try to add small amounts at a time so that you can avoid adding so much flour that the rolls become dense.
8. There are a lot of different ways to shape rolls. I will include a link below with a video tutorial with the technique that I like to use, but shaping them can be as easy rolling them into a ball.
9. Place your rolls one by one into your prepared dish. They will fit snuggly. Cover and allow to about double in size. This can be as quickly as 15 minutes, depending on the temperature of your home, but is usually around 30 minutes. Check around the 15 minute mark.
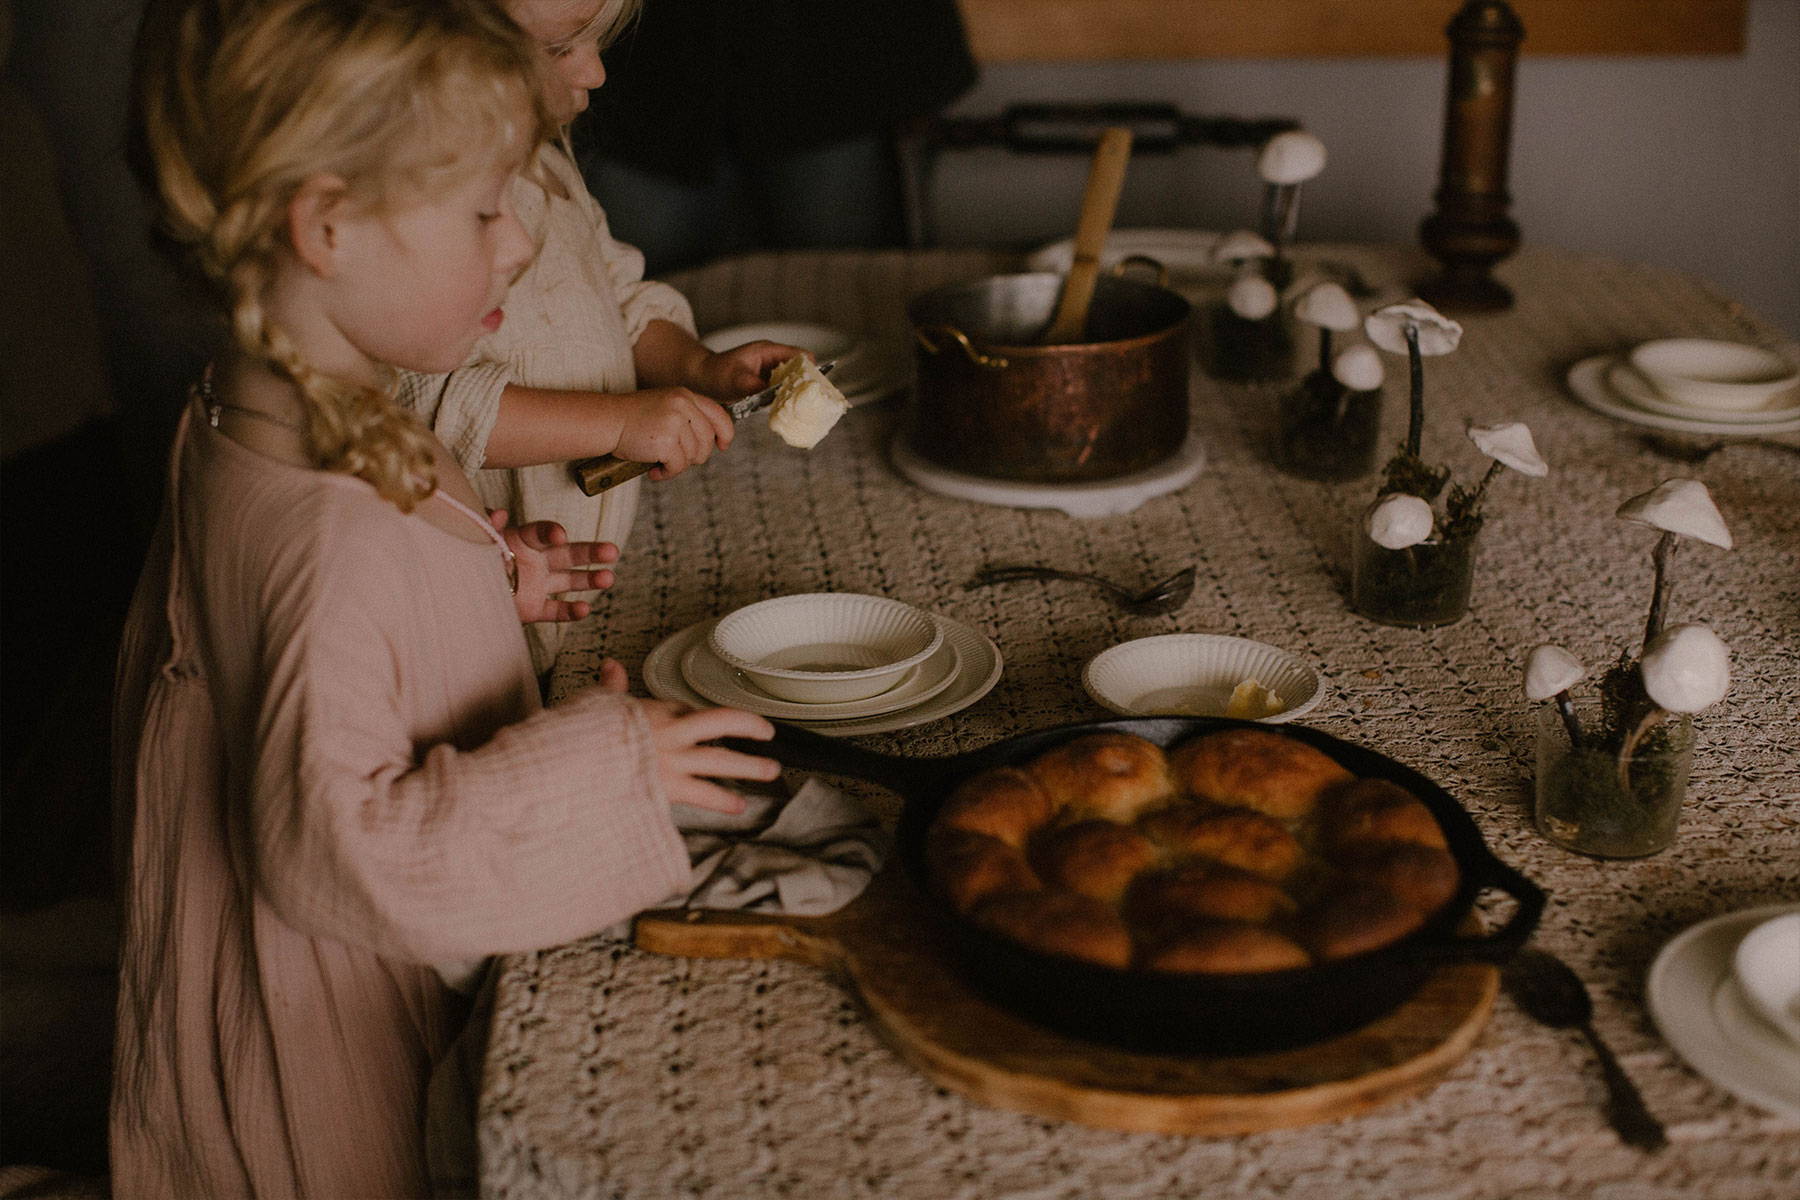
10. Place into the oven for 30 minutes, uncovered. After 30 minutes, check the colour of your rolls. If they are looking fairly brown, cover with foil or other cover of choice, and bake for another 15-20 minutes. Check the internal temperature of one of the rolls. If it is at least 210 F, they are done baking.
11. Brush the tops of the rolls with melted butter and allow to cool for at least 1 hour before eating. Eating before an hour will result in a gummy crumb.